


Cassandra/Labri Mash-up
You might remember this past week Lynn from Bebelambs hosted a Mash-Up contest. The challenge was to use 2 or more of her patterns and mix them up and put your own creative spin on them, if you wanted.
I used the Cassandra Shirred Tunic and the Labri Reverse Knot Maxi.
You can purchase these two dresses as a bundle on the Bebelambs site and for this week only there is a 10% discount. Here’s a link:
http://blog.bebelambs.com/product/bundle-labri-cassandra/
There will also be a sew along starting July 7th and ending July 11th. Please gather your supplies and join in the fun. If you haven’t already, like Bebelambs facebook page for updates/details:
https://www.facebook.com/groups/253494364822467/
And mine while you’re at it:
https://www.facebook.com/sewlikethat?ref_type=bookmark
It is new and I am going to start using now!
This is going to be a short tutorial as you will be able to follow the directions in the patterns for a large part of the dressmaking! ~ OR SO I THOUGHT!~ The tutorial looks a tad long but it goes fast. Just PLEASE, PLEASE, PLEASE read over this entire tutorial before starting! If you have any questions just go to sewlikethat facebook page and ask away or send me an email. I highly recommend you read this tutorial and both the pattern instructions before starting. That way you will have a better idea of what is going on.
Let’s begin:
- Cut out the front and back bodice from the Labri per the instructions.
- Cut out the Cassandra TUNIC pieces. By adding these tunic pieces to the bodice your finished project will be long enough to call a dress. IMPORTANT: for the top skirt cut one piece. That means you will have to add the two measurements together. Cut one.
- Cut out the straps from the Cassandra. You will cut out two long strips, per the instructions, and after they are folded and pressed you will cut them in half. You will end up with four pieces. I like to use my bias tape maker for this: fold the end of one stap and insert into the maker,


feed the fabric though with a straight pin until you get it through the opening,
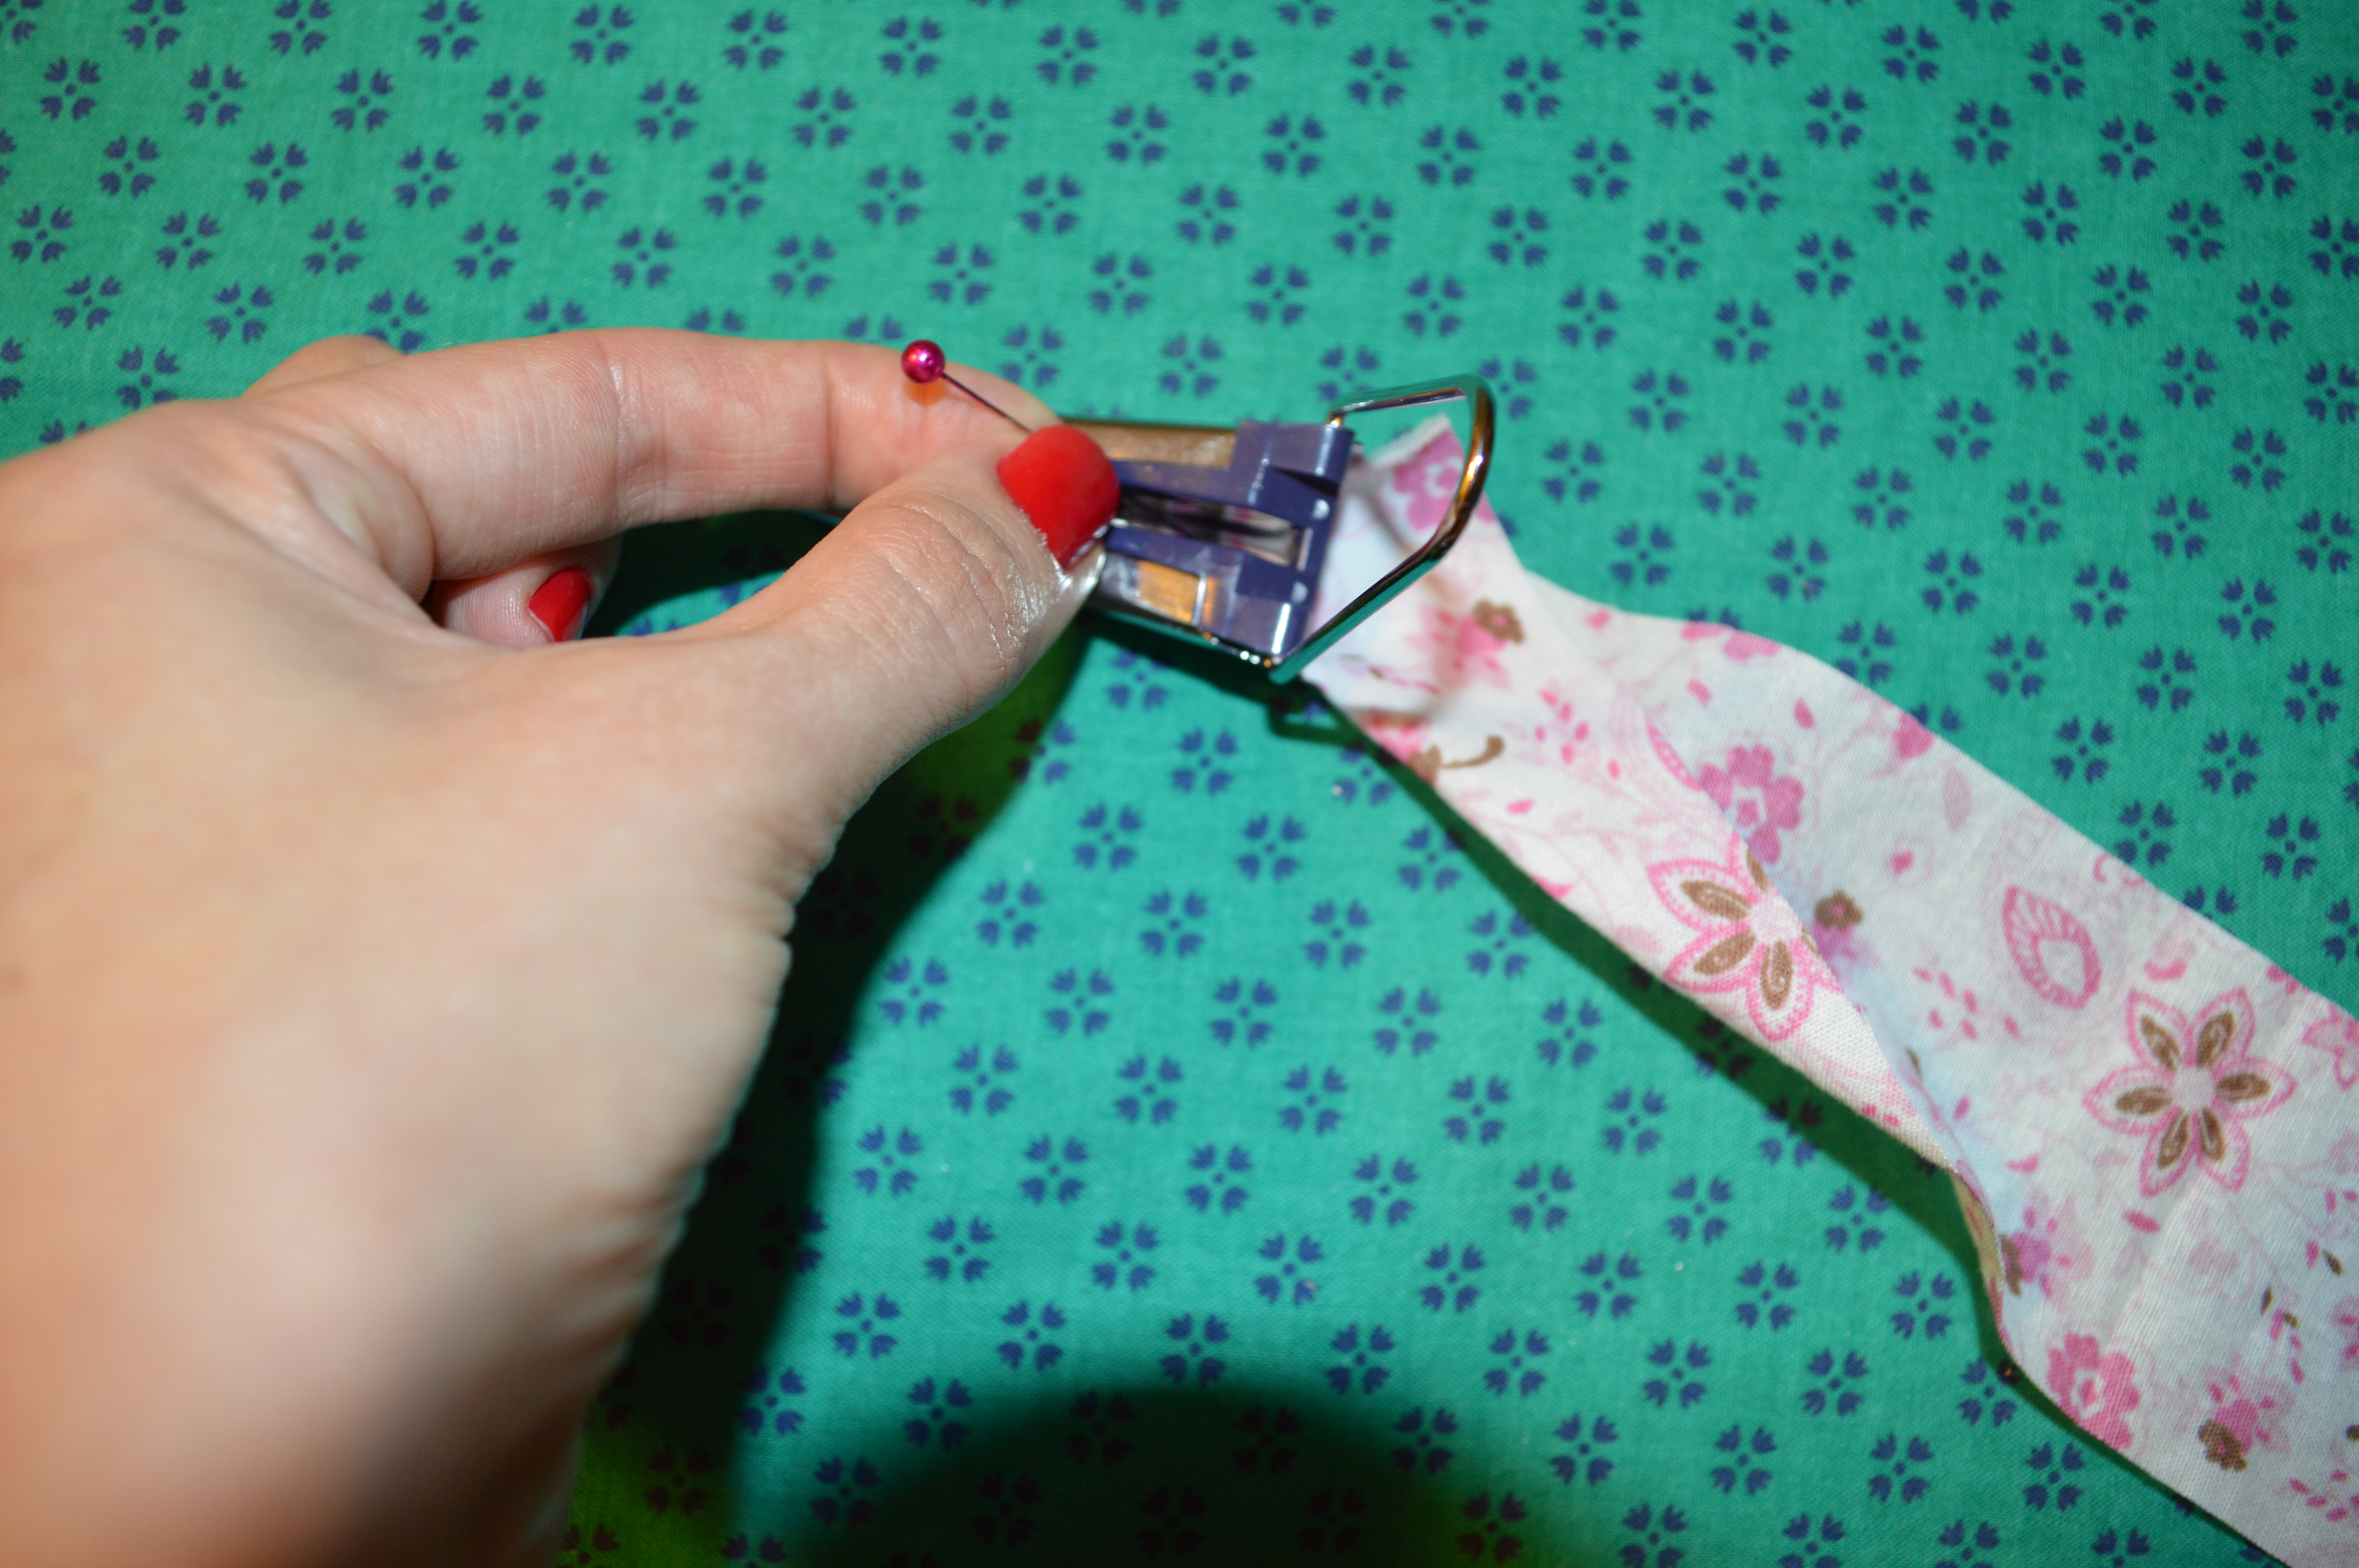
pull the bias tape maker while ironing the bias tape.

Fold the straps in half length wise and press.
Wa la! You have your straps. Now, I sew them with one zig ~ zag stitch, but you could sew a straight stitch up both sides, as in right and left sides.
- From this point we will start assembling. You will put the straps on pretty much the same as putting the straps on for the Labri. Sandwich the two front bodice pieces, right sides facing. Insert your straps along the top near the armscye. For my first dress, the outside straps were placed ½” from the edge and for the second (pink) dress they were placed ¼” from the edge. I like both effects.

- Once you have the sandwich thing going on sew across the top and both armscyes. Follow Labri instructions to complete front bodice. IMPORTAN: don’t forget to criss ~ cross your straps! It’s easy with only 4 pieces. Just weave them: top, bottom, top, bottom.
- For the back bodice you are going to do the same sort of thing. However, the placement of the straps, in relation to the bodice piece, is going to be backwards. Referring to the photo below, the left side of the back bodice will be the topside once we are done~ the part that the straps are attached to. So, sandwich the two back bodice pieces with the straps in-between. Now, all sizes will measure differently here. I made the 3T and I placed my outer straps 4” from the side seams. Go proportionally here and use your best judgment. (I wish I was a designer and could tell you exact measurements/placements) It will seem wide or far apart, just remember the back will bunch up with shirring or elastic, depending on the option you choose. You are also going to want to measure for length. I used a measuring tape and placed it, on my daughter, about where I thought the straps would start and finish then added a few inches. Make it longer rather than shorter so you don’t end up with your straps too short. Use a basting stitch to tack them in place and try on your daughter. If they need to be adjusted go ahead and do that. That is why you use a basting stitch here. It is easy to remove. Once they are where you want them, sandwich the bodice pieces back together if you separated them, stitch with a regular stitch across the top (the left side in photo) (The side farthest from the front bodice in photo) do not stitch sides.

- Connect the front and back bodice. To do this you will need to open the 2 bodices up. Right sides facing sew/serge up the side seams. Flip right side out. You should have a completed bodice. IMPORTANT: just do not make the buttonhole that the Labri tells you to make. We wont be using it. ALSO IMPORTANT: I shirred mine, but waited until I sewed the skirt onto the bodice. It is not impossible to shirr first; I just think it is easier to connect the skirt to the bodice before it is bunched up.


- Now, we are going to work on the Cassandra skirts. This is another spot that we do some creative switching around! The Cassandra calls for the shorter skirt on the bottom. I put it on top here. I also cut the top skirt shorter for a more dramatic effect, on the pink dress. Grab something round. I used a fruit bowl.
 ***My beautiful daughter does not like to stand around and take photos; she likes to play***

- Now you have the option of tracing around the bowl or just cutting like I did. This will give you the rounded corners for the top skirt.
- If you are using knit that’s it! To help your knit edges roll simply stretch them. If you are using anything else you need to make a hem. I serged my edges at this point then folded over once. Before I folded over, I clipped the rounded edges, with v shapes, to help them lay flat. When I tried folding under again the rounded corners wouldn’t lay flat. I skipped that. Yes, it is not the prettiest when flipped over. There are ways to remedy this. You can put the lace under instead of over (more on this later) or you could make a single fold bias tape out of the skirt fabric. You could also tack the rounded corners down to the lower skirt so they don’t flap up. If anyone else knows of a better way of doing this, let me know please!
- So, onto the lace. I placed the lace on top of the skirt before sewing the hem under, but after pressing the hem down. To keep this simple, I found a spot where I could see through the lace and know where it was in relations to the edge of the hem. Using a thread that matches the lace for the top and a thread that matches the skirt for the bobbin sew in place with a small zig ~ zag stitch. I use a zig ~ zag because I feel it helps hold the lace down when sometimes it wants to fold over during washing and drying.
- Leave the top skirt open and gather per Labri instructions.
- Sew the two pieces of the bottom skirt together or do as I did and cut one piece and just sew up the one side seam. Gather per Labri instructions. Gather to the point that it is the same length as the bodice.
- At this point lay the top skirt flat with wrong side face up. Lay the gathered bottom skirt on top. Find and mark the center points with a strait pin and match them up.
- Wrap the top skirt around the bottom skirt and find a spot that looks good for them to be~ a position, about 2” apart. Pin them down. Pin the two skirts together between the ending points and the center point.
- I prefer the two skirts to be serged at this point. If you do not have a serger simply baste them together.
- At this point we are going to connect the bodice and the skirts. First find the front center point of the bodice. Mark with a straight pin. Now find the front center point of the two skirts. That’s easy~ just between the two end points of the lace. Turn the bodice inside out. Flip it upside down and insert the skirt into the bodice. The unfinished edge of the bodice and the gathered edge of the skirts should be lined up. Line up the two front center pins. Continue to pin the bodice and skirts together.
- Serge/sew the two together. Go slow and take your pins out as you go. You cannot serge over Straight pins. Trust me here! J
- Flip the bodice up and top stitch your seam to the bodice, if that’s your cup of tea! Usually I do, but lately I’ve been skipping that step. It does create more of a finished look.
- Finally, shirr your back bodice, if you chose the shirring option.

****Here’s another mini tutorial! For the pink dress I did side tails on the bottom skirt:
- Fold the bottom skirt in half. This can be done after sewing sides seams and before gathering. If not using knit you will need to make sure you have not hemmed the bottom yet. Or after the dress is finished, like I did.

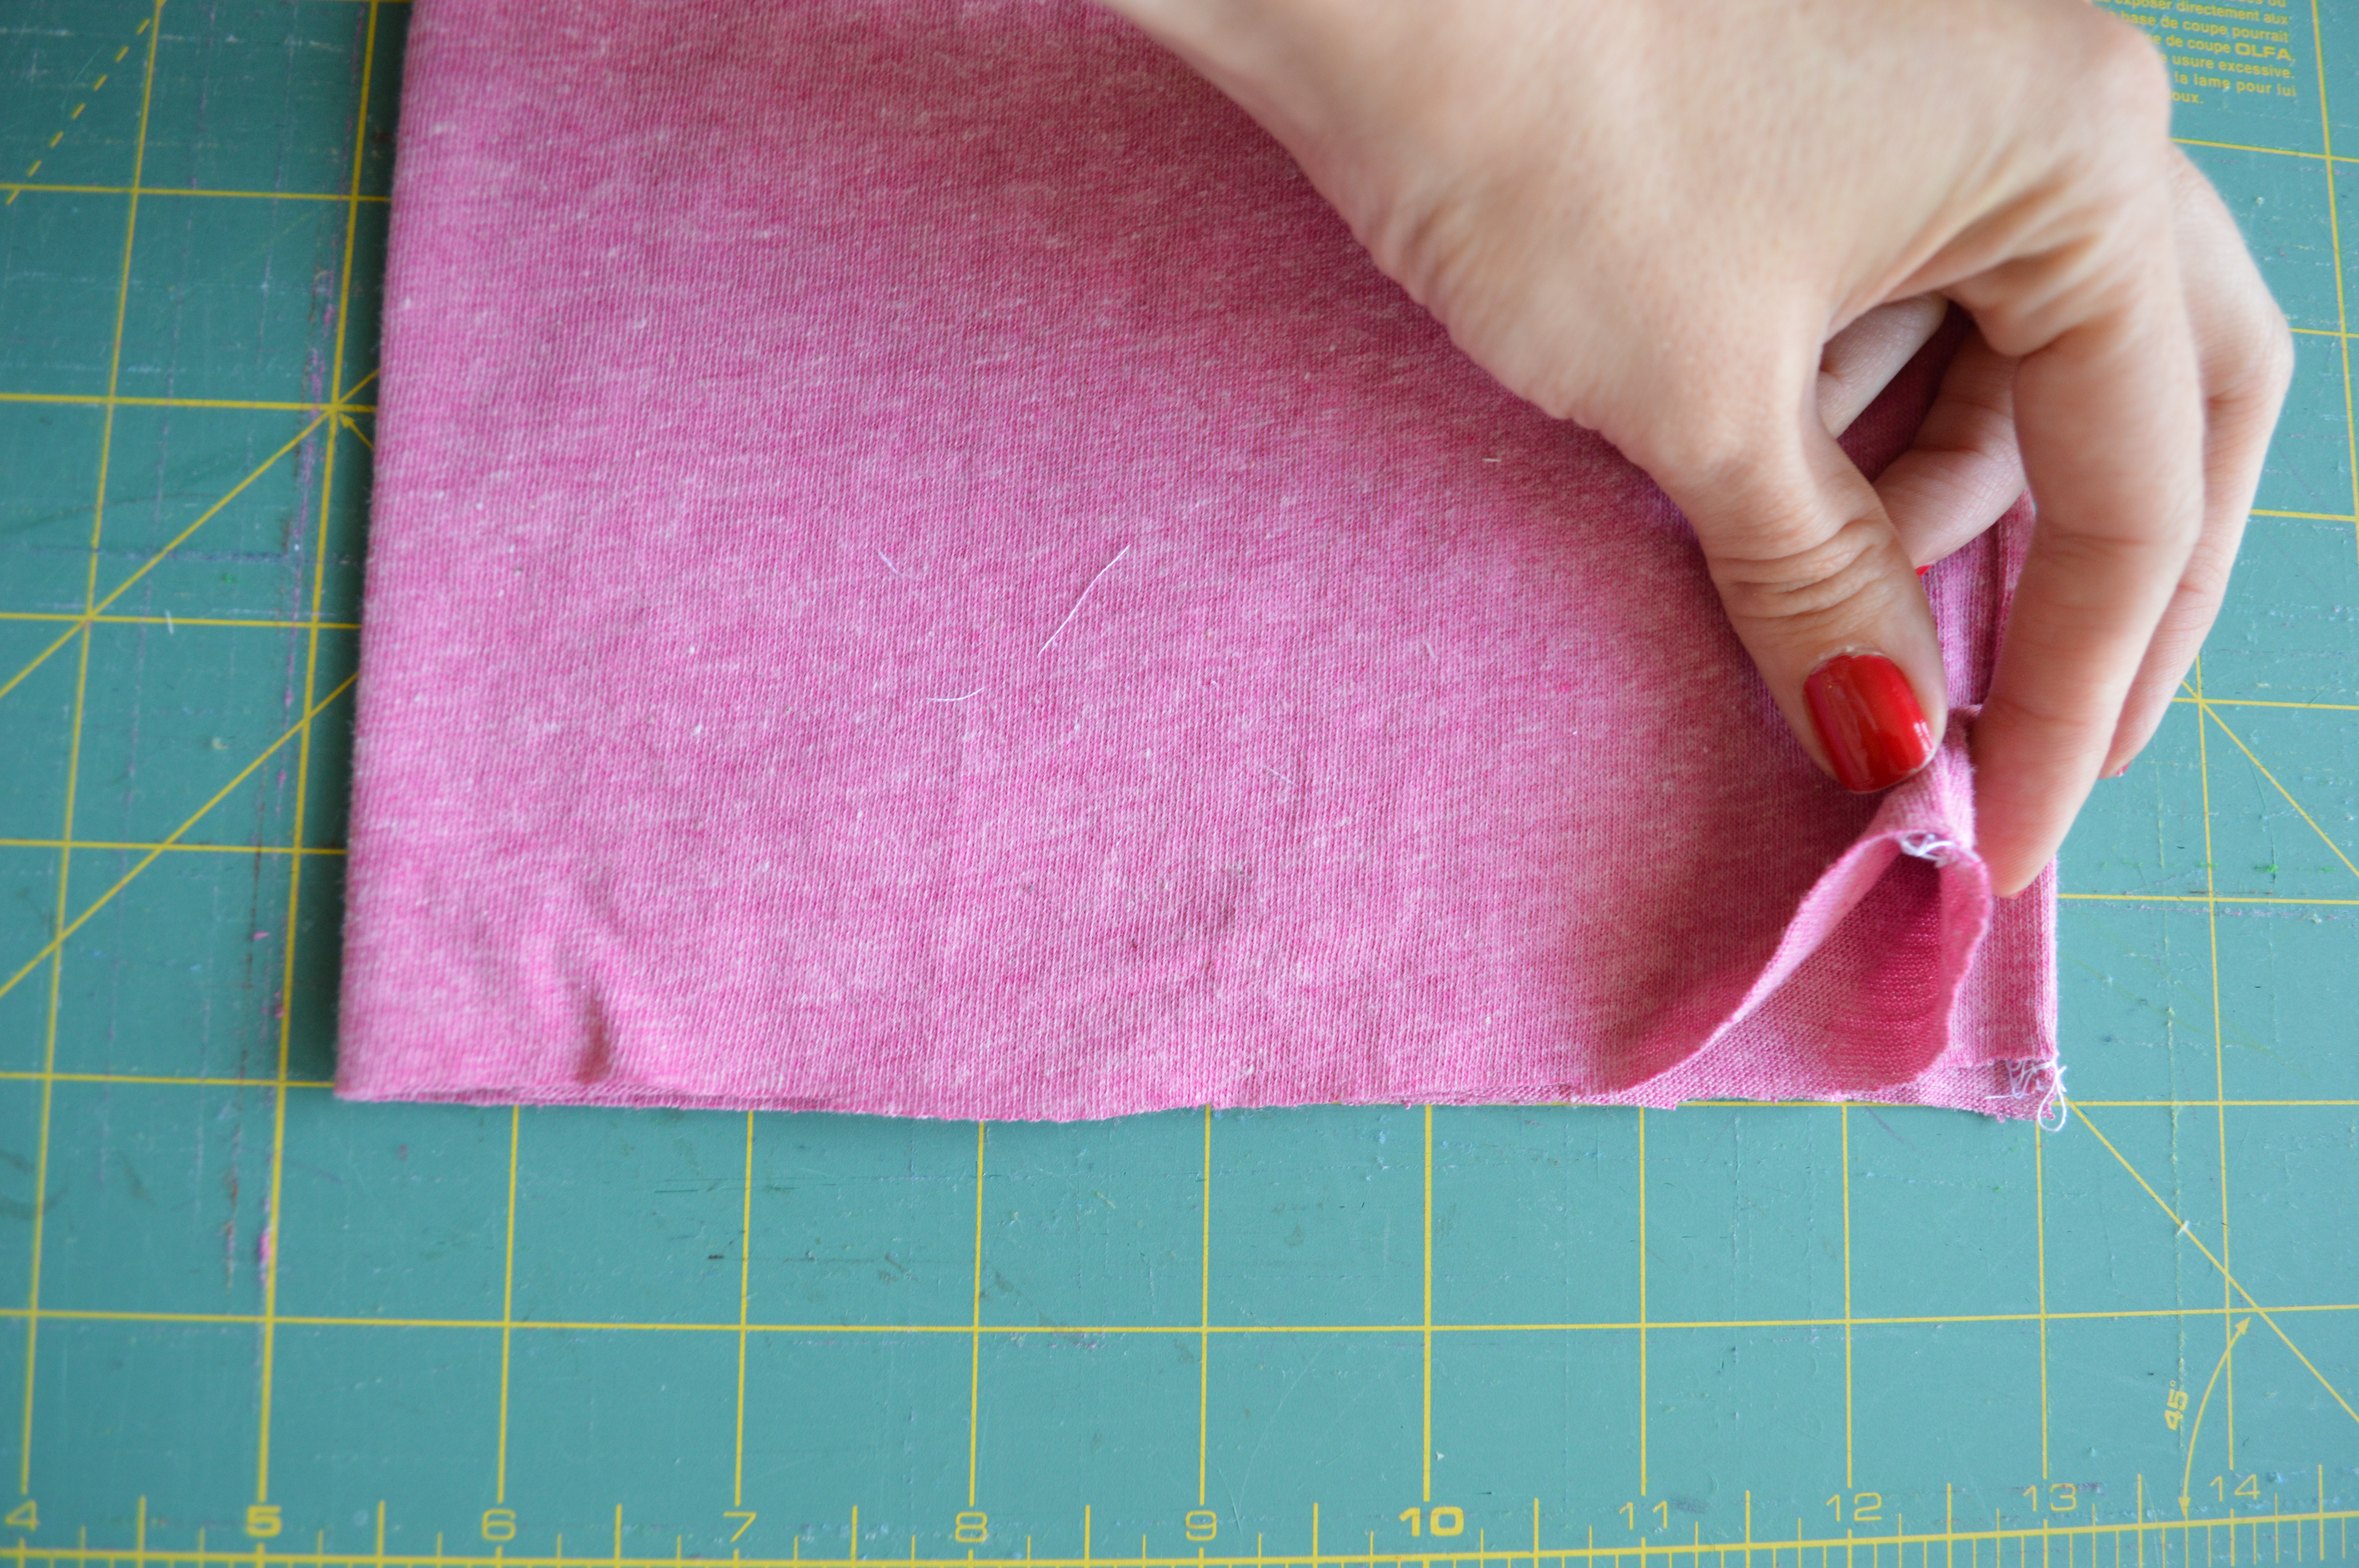
The two pieces are now folded in half.
- I free handed it, draw a line about 2” up from hem. Slowly angle downwards toward the side seams. Make sure to go straight at first or you will have a piece pointing down in the center and we don’t want that.
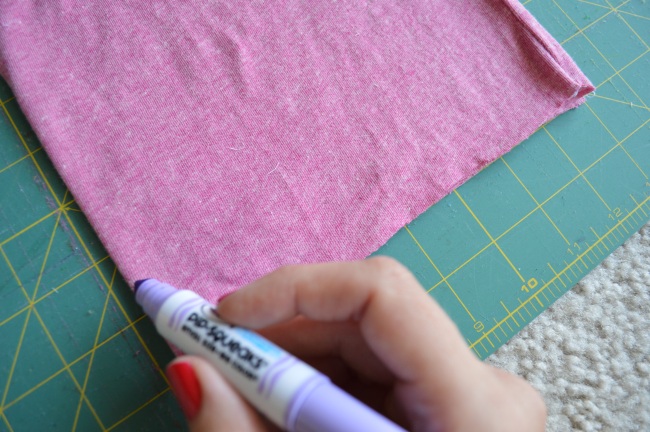


If you look closely you can see it here.
- Cut that line with a rotary blade or scissors if you don’t have one. If usinging something other than knit you will need to hem the dress/skirt now. If using knit you are done!

 Finished! Put this dress on your little girl and admire. Then take photos and share, please! I would love to see your finished dresses.

If you would like your side tails more drastic just start your cut more than 2” up.
 Would you believe that I ironed this dress 5 minutes before this pic was taken? That’s linen for ya!


Finally, posing like a Diva!


Dresses look great..Your little model is adorable!.
Thank you Susan! Are you joining us for the sew a long?
I love this tutorial. AND you just inspired me to make a princess inspired dress.
Awesome! If I can inspire one person I’m happy! I can’t wait to see the princess dress!
I love those dresses! I want to do the sew a long too! How can I find it?
Thank you Beverly! You will find the bundle package for the 2 patterns at Bebelambs.com. There is a giveaway for them ending tomorrow. The link is found in red for rafflecopter at the bottom of the blog post. You can join Bebelambs PDF Facebook group. Links to all of these are in the blog post about the dress. Let me know if you need further assistance. I can’t wait to see what you make with it!
Faith
This is really cute!
Thank you so much! Are you joining us for the sew along?